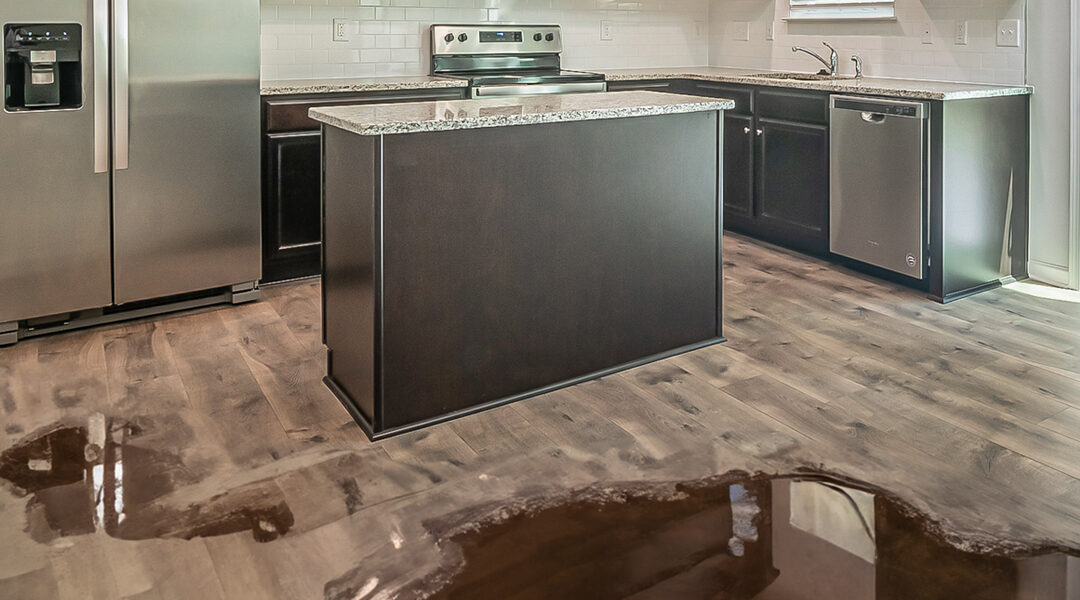
Water damage can strike any home or business at any time. Whether from heavy rain, bursting pipes, or overflowing bathtubs, the damage can be both immediate and long-lasting. If you’re a professional cleaner specializing in water damage and restoration, you already understand the importance of using the right techniques to mitigate the damage and restore the property to its original state. Here’s a comprehensive guide to some of the most effective water damage restoration techniques.
1. Initial Assessment & Safety Measures
Before diving into the restoration process, it’s crucial to assess the extent of the damage. Determine the type of water involved:
- Clean water: From rain, leaking pipes, etc.
- Gray water: From washing machines, dishwashers, etc. May contain contaminants.
- Black water: Sewage or floodwaters. Highly contaminated and can cause health problems.
Ensure the site is safe. Turn off electrical sources, wear protective gear, and make sure you’re not working in a structurally compromised environment.
2. Water Removal and Extraction
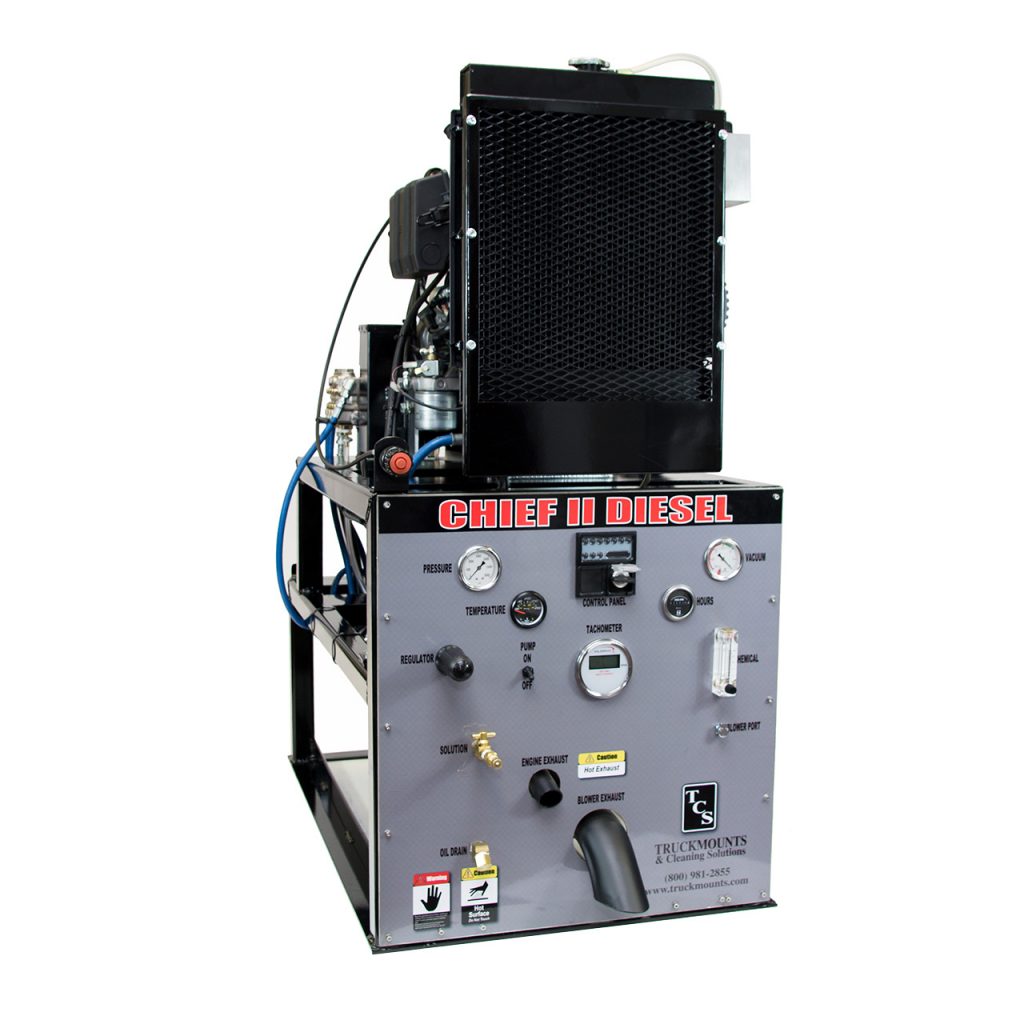
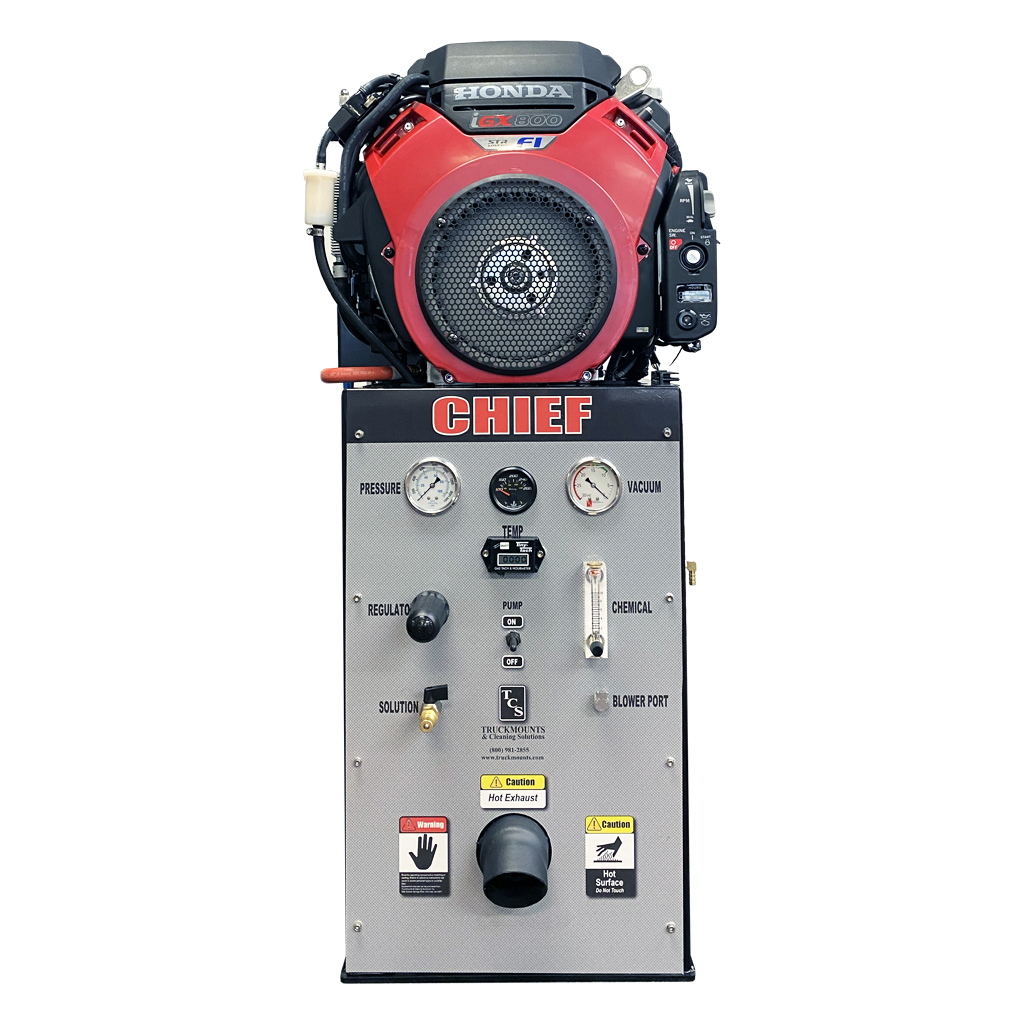
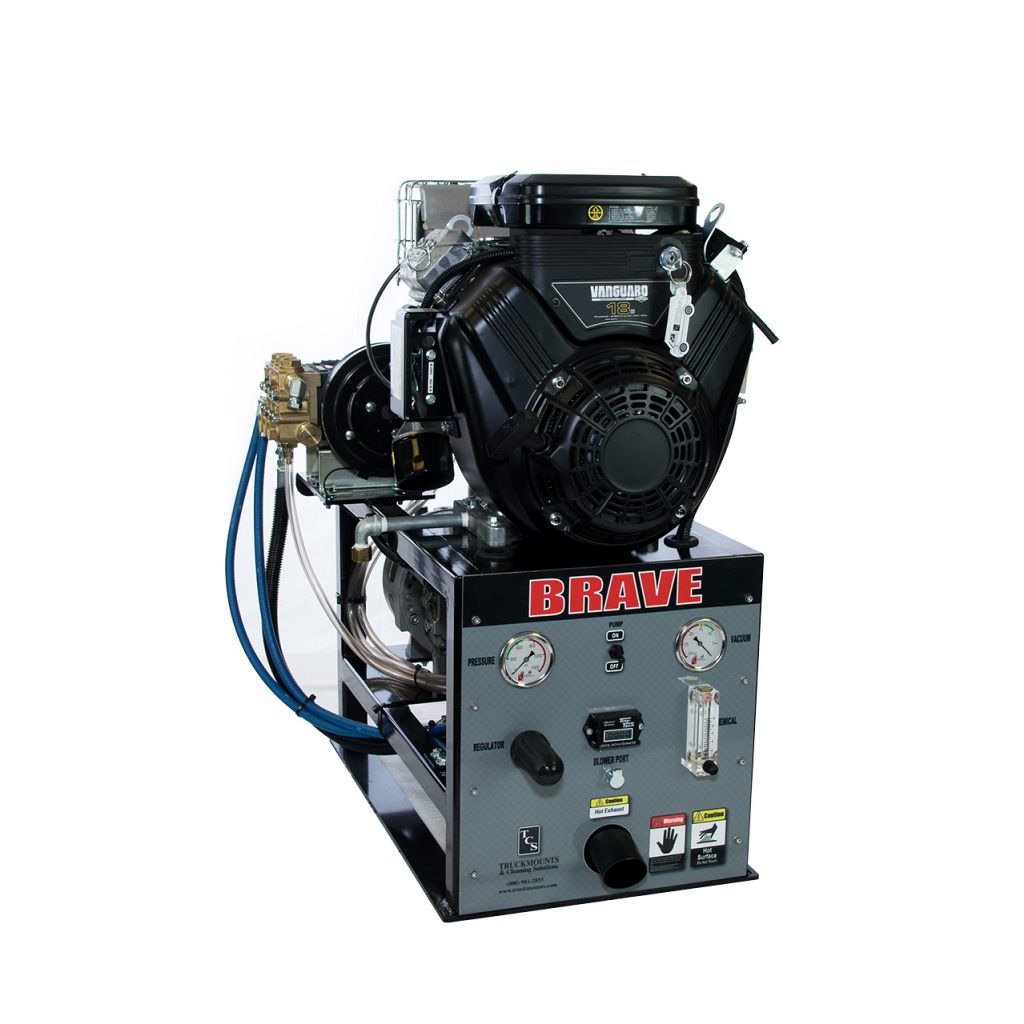
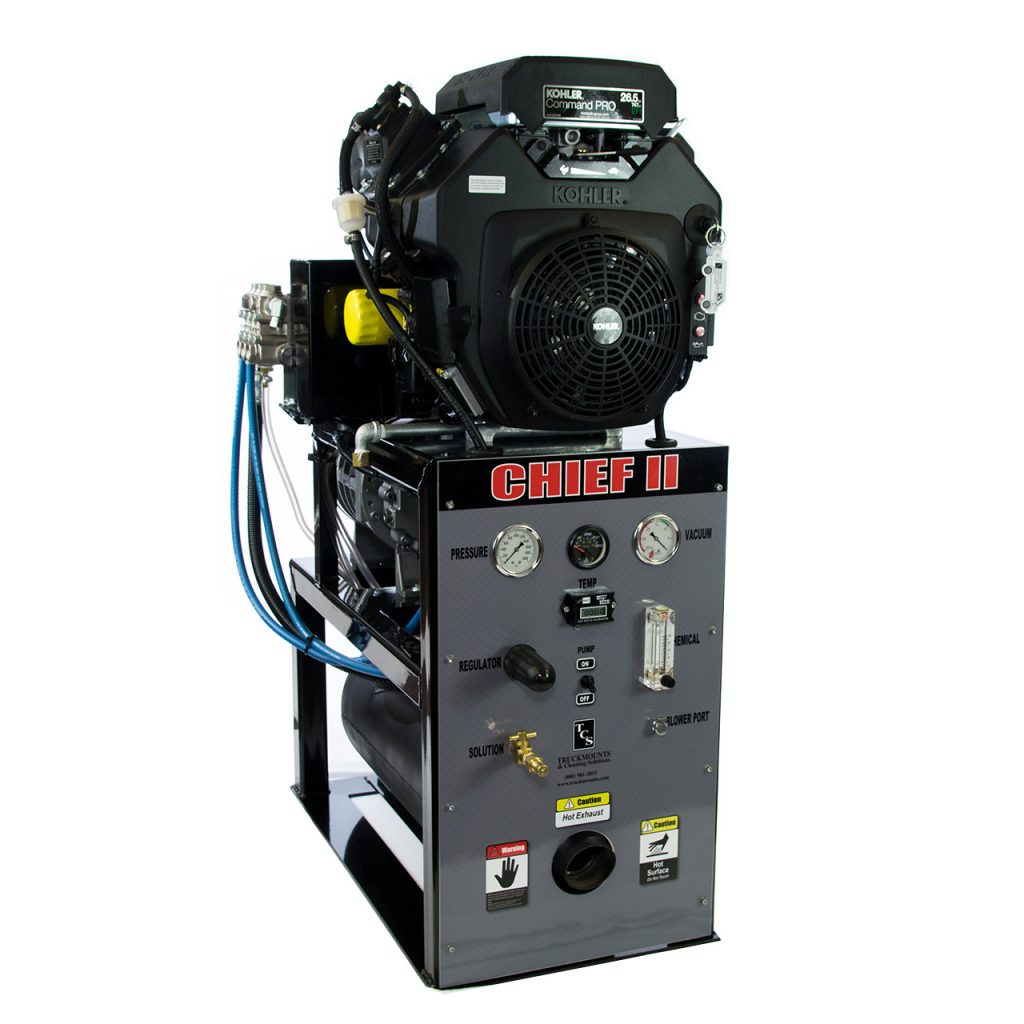
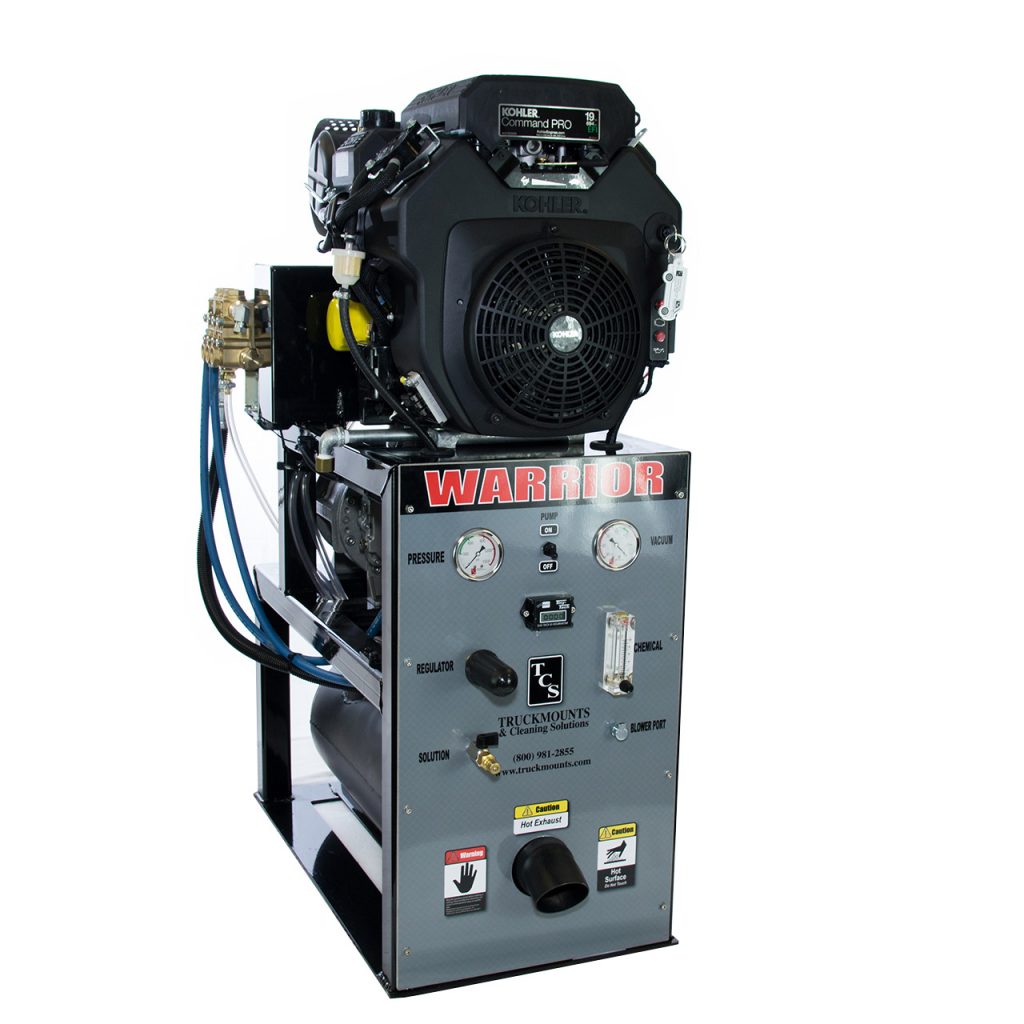
This is the primary step in the restoration process. Use powerful pumps and vacuum units to extract water from the property. The quicker you remove the water, the less chance there is for mold and further damage.
3. Drying and Dehumidification
After the bulk of the water has been removed, properties will still be damp. It’s essential to thoroughly dry out the area to prevent mold growth. Industrial-grade dehumidifiers and high-speed air movers can help in this step.
4. Cleaning and Sanitizing
Once the area is dried, cleaning and sanitizing are vital, especially if you’re dealing with gray or black water. Professional cleaners should:
- Use antimicrobial treatments to clean areas and belongings.
- Dispose of items that can’t be salvaged or cleaned.
- Ensure a thorough cleaning process to eliminate potential health hazards.
5. Mold Remediation
In a damp environment, mold can grow within 48 hours. It’s essential to:
- Identify and isolate areas with mold.
- Use air scrubbers and HEPA vacuums.
- Apply antifungal and antimicrobial treatments.
- Ensure all moisture sources are addressed to prevent future mold growth.
6. Restoration and Repair
The final step is to restore the property to its former state. This might involve:
- Replacing damaged drywall or insulation.
- Installing new carpet or flooring.
- Painting walls and ceilings.
- Rebuilding rooms or areas severely affected.
7. Documentation and Reporting
For insurance purposes, always document the damage with photographs before and after restoration. Maintain a record of all actions taken, equipment used, and the duration of the job.
Final Thoughts
The water damage restoration process can be complex, but with the right techniques and equipment, it’s possible to restore properties to their pre-damage condition. For professional cleaners in this sector, continuous learning and adapting to the latest best practices can make all the difference in ensuring a successful and efficient restoration process.
Remember, every water damage scenario is unique, but the foundation remains the same: extract, dry, clean, restore. By following this comprehensive guide, you’ll be equipped to handle even the most challenging water damage restoration projects.


